
Justin McKinnis tells his story of his amazing pond build. This build began in June of 2019, and was completed three months later.
The best pond builds start with a detailed plan:
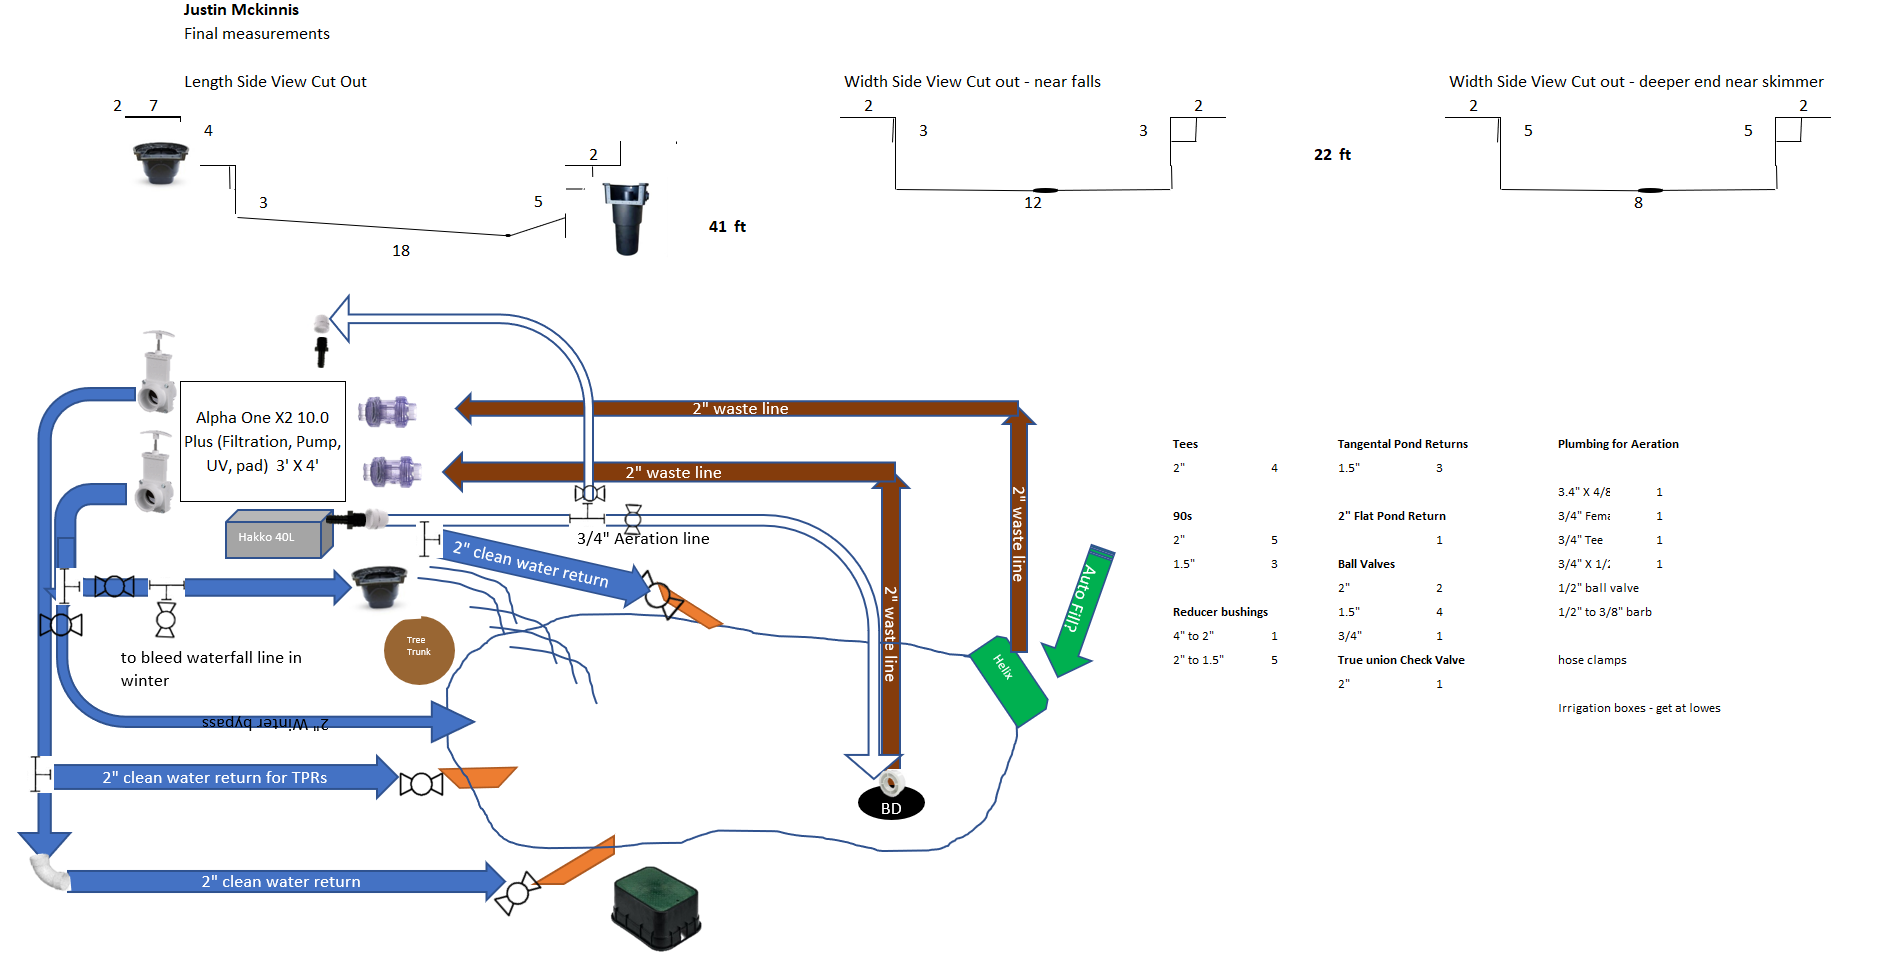
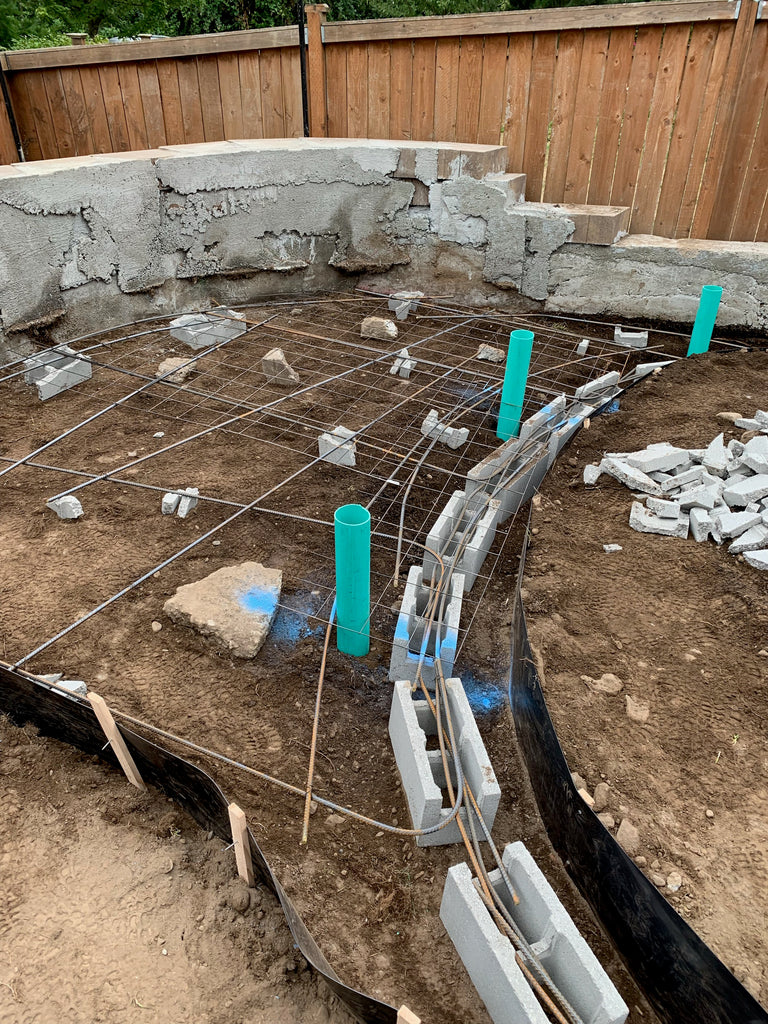
After the plan was completed, Justin ordered his parts and began building his pond. He first mapped the outline of his pond using spray paint and then began to excavate. Next, Justin poured his concrete ring, which he reinforced with rebar. Justin also did something very unique: he inserted 4" pipe into sections of the concrete where he knew he would later want to run piping and electrical wiring for his lights.

After pouring the concrete collar, it was time to start digging! Justin rented an excavator from a local rental shop, for about $165 per day. Justin was able to complete the dig in one day.
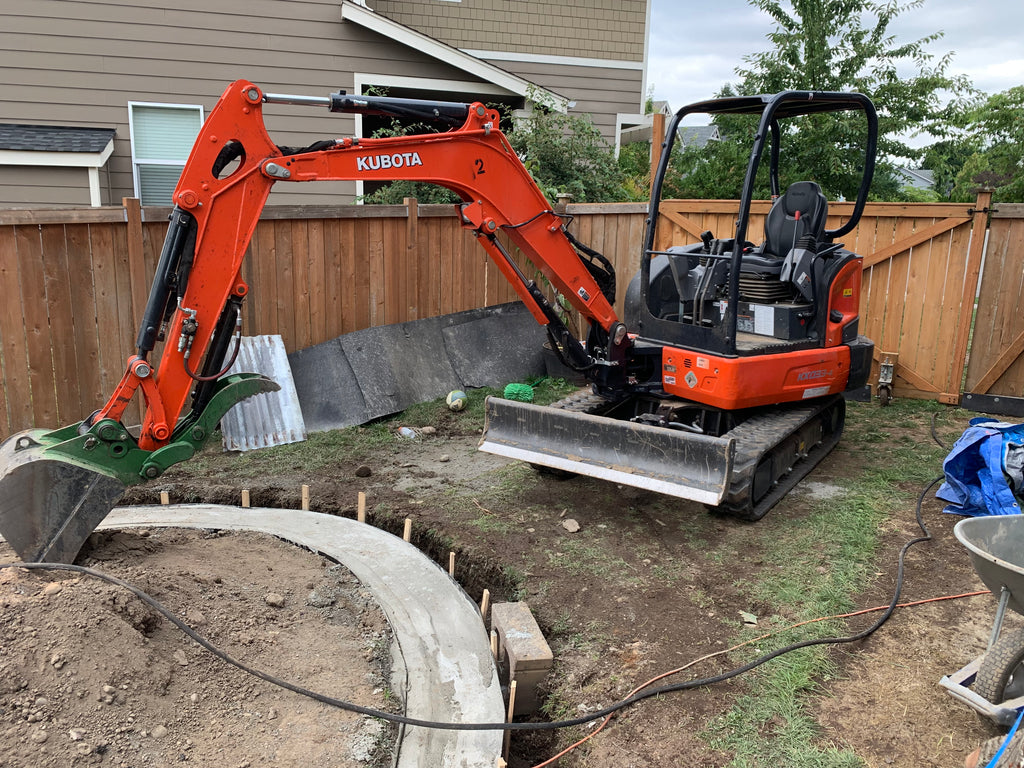
Dirt was piled high in the areas where the waterfalls would eventually be built.
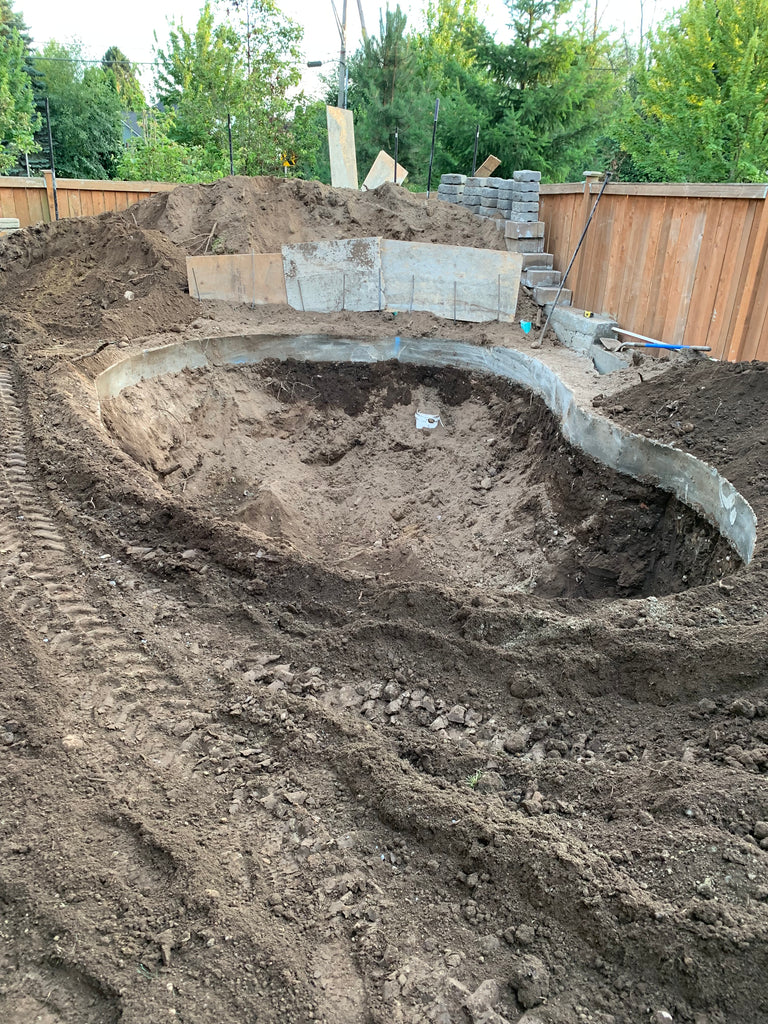
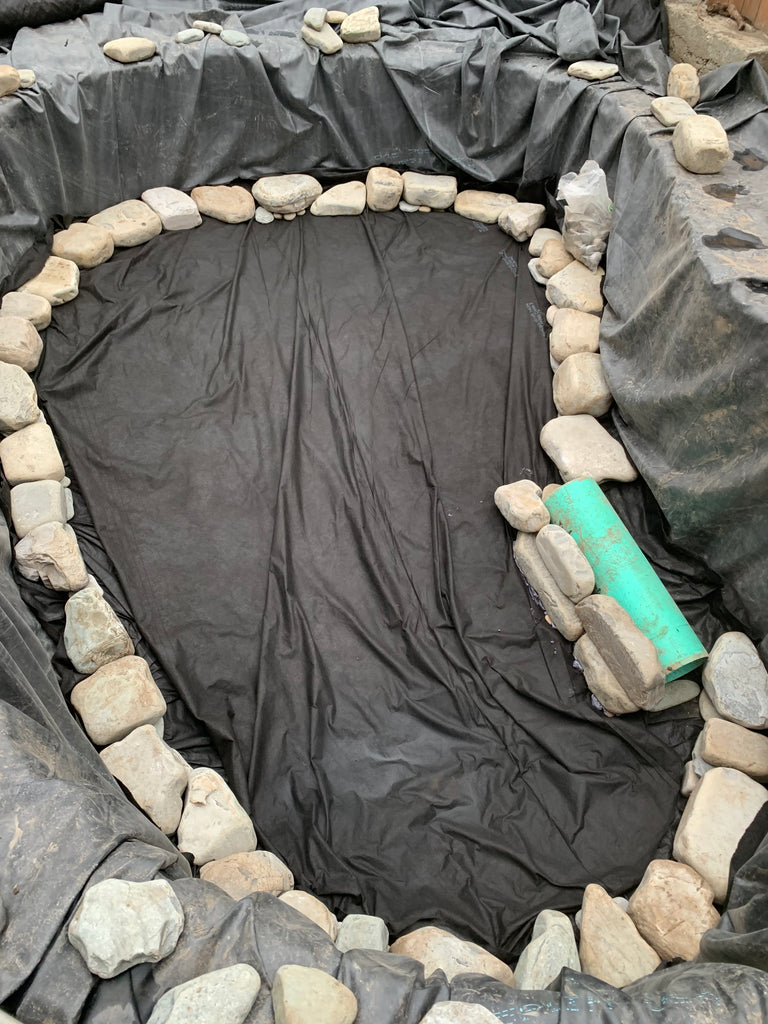
Once the pond excavation was complete, it was time to decide where best to place the bottom drain. Bottom drain placement is a very important consideration, especially when using an aerated bottom drain. It's important to avoid placing an aerated bottom drain too close to the skimmer, as the vibration from the aeration may actually push debris away from the skimmer. Therefore, Justin located his bottom drain to the right of his skimmer, and far enough away so that any vibration would actually push debris into the skimmer area for easy capture. Check out the photo below....can you see that the bottom drain is a bit off-center? Justin's skimmer will ultimately be placed at the tip of the blue shovel. Perfect!

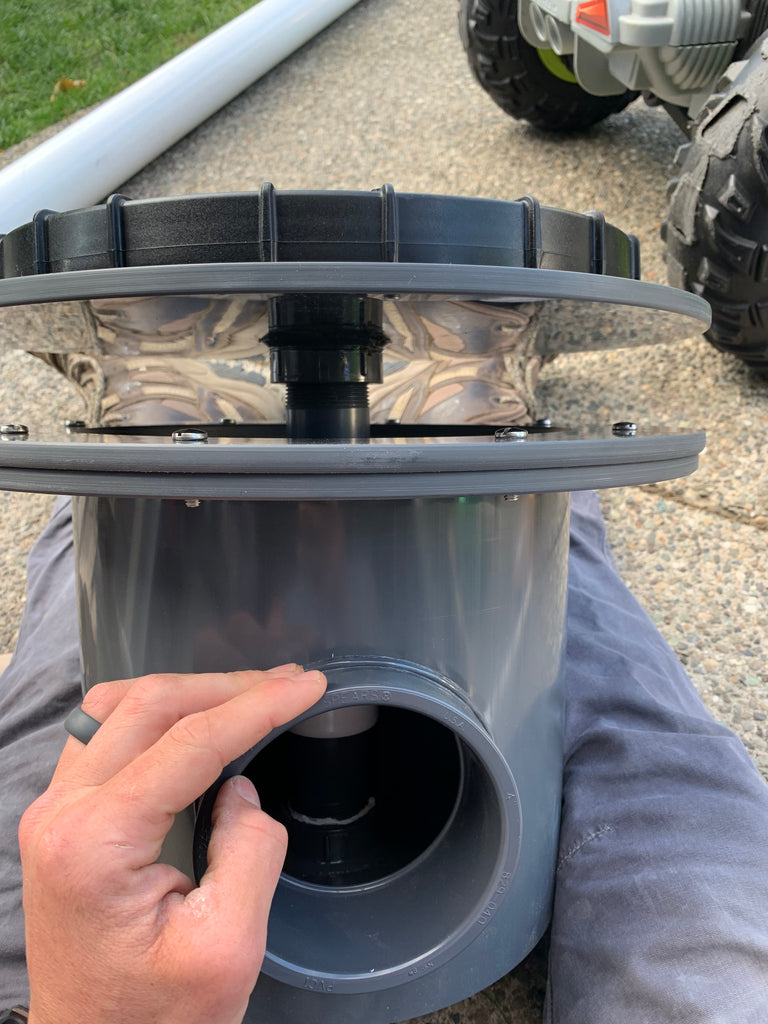
It's now time to place the bottom drain and to solidify it in concrete. Justin chose the Rhino II 4" Aerated bottom drain and ran a 1/2" airline to it.
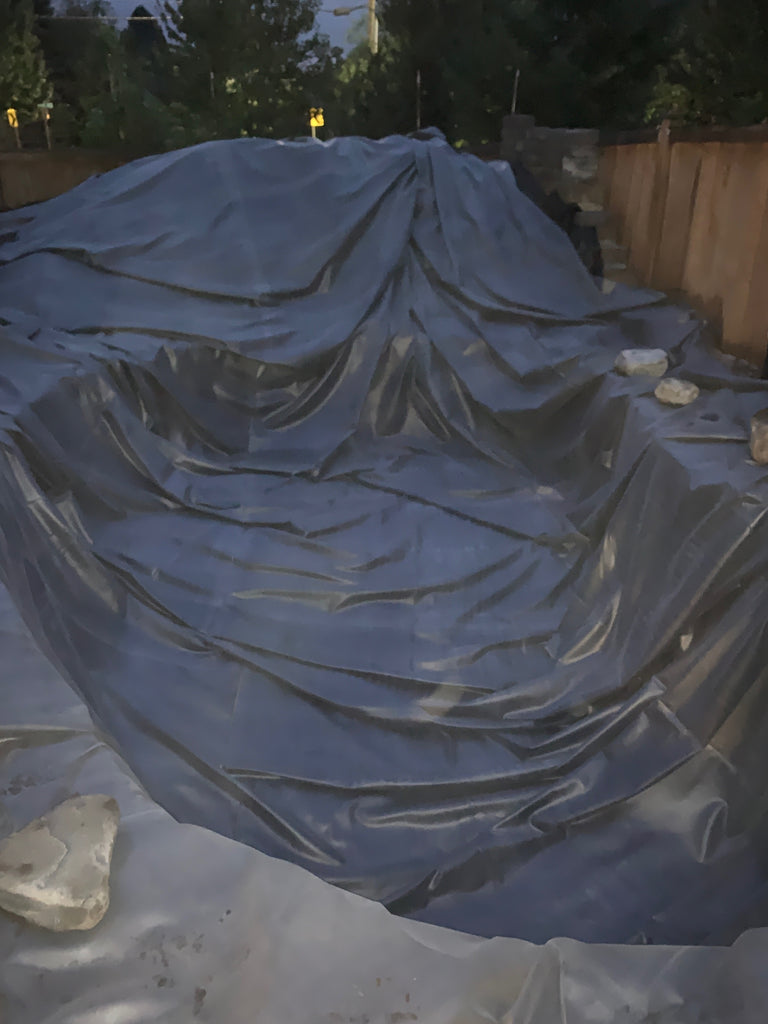
With the Rhino II 4" Bottom drain and the 1/2" airline concreted in, it was time to place the pond underlayment and pond liner. Justin planned to place rocks on the inside of his pond, and wanted to be sure that his liner was more than safe, so opted to add a layer of underlayment over the top of the liner. The underlayment would go between the rocks, which would be cemented in to keep the liner safe.
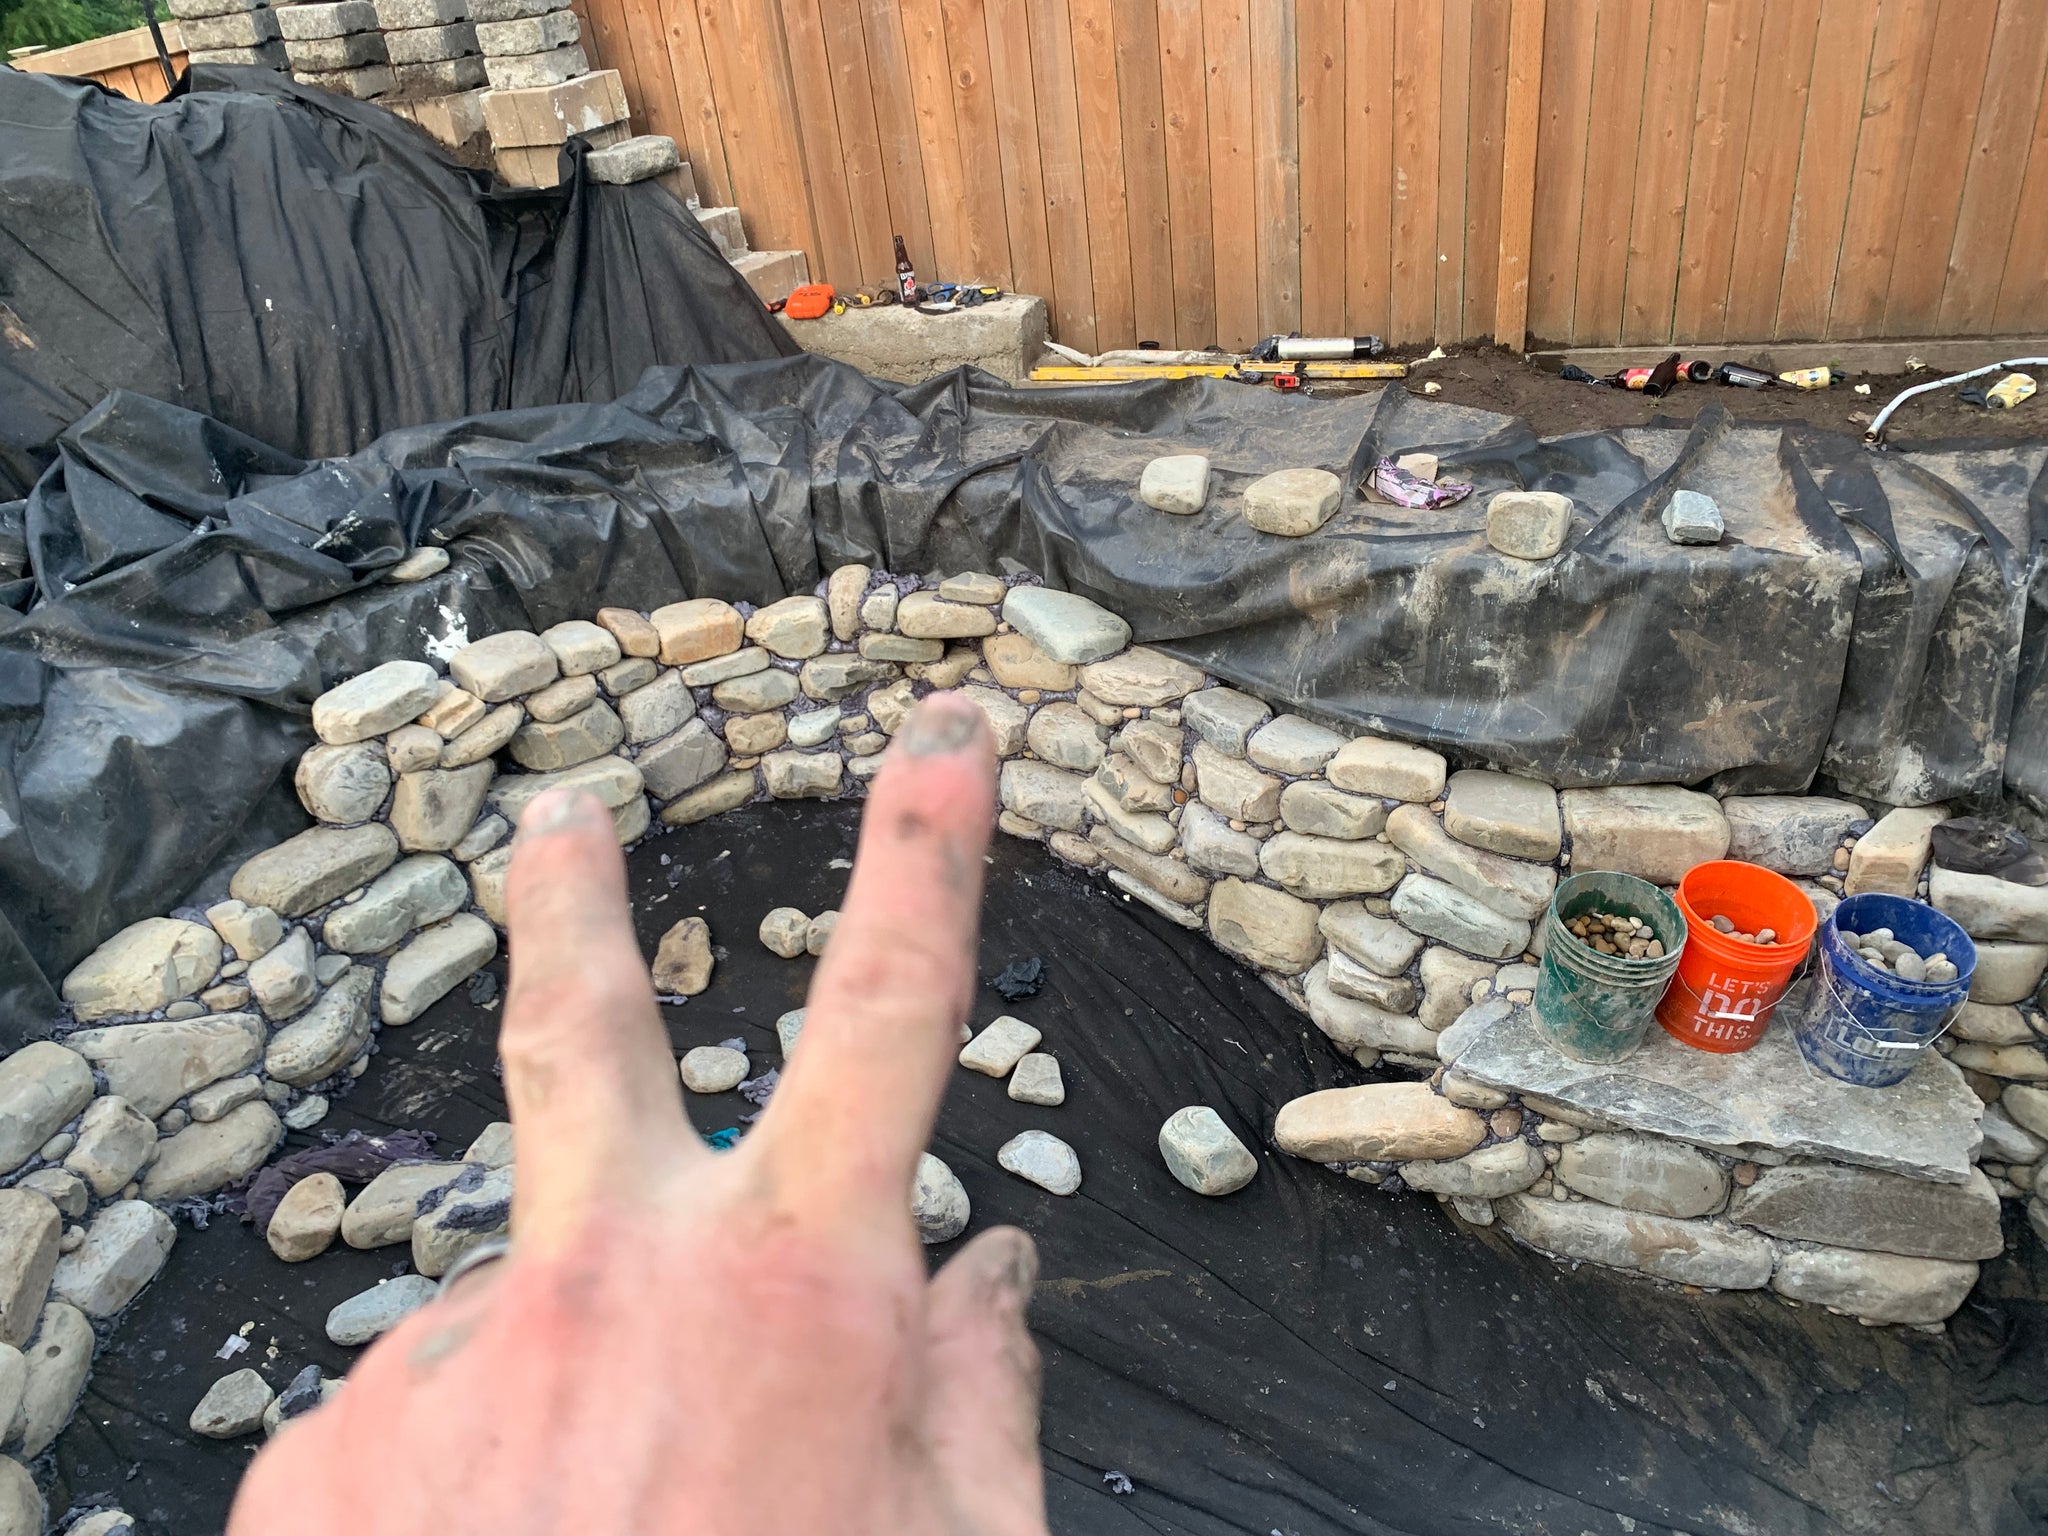
Let the rock work begin!
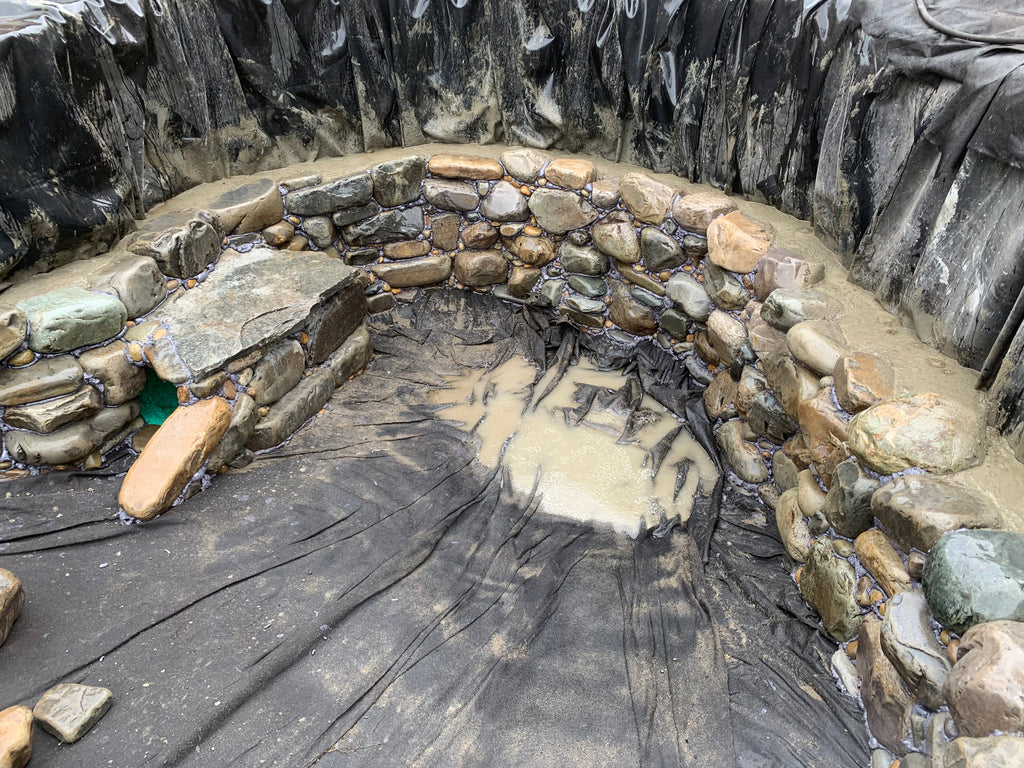
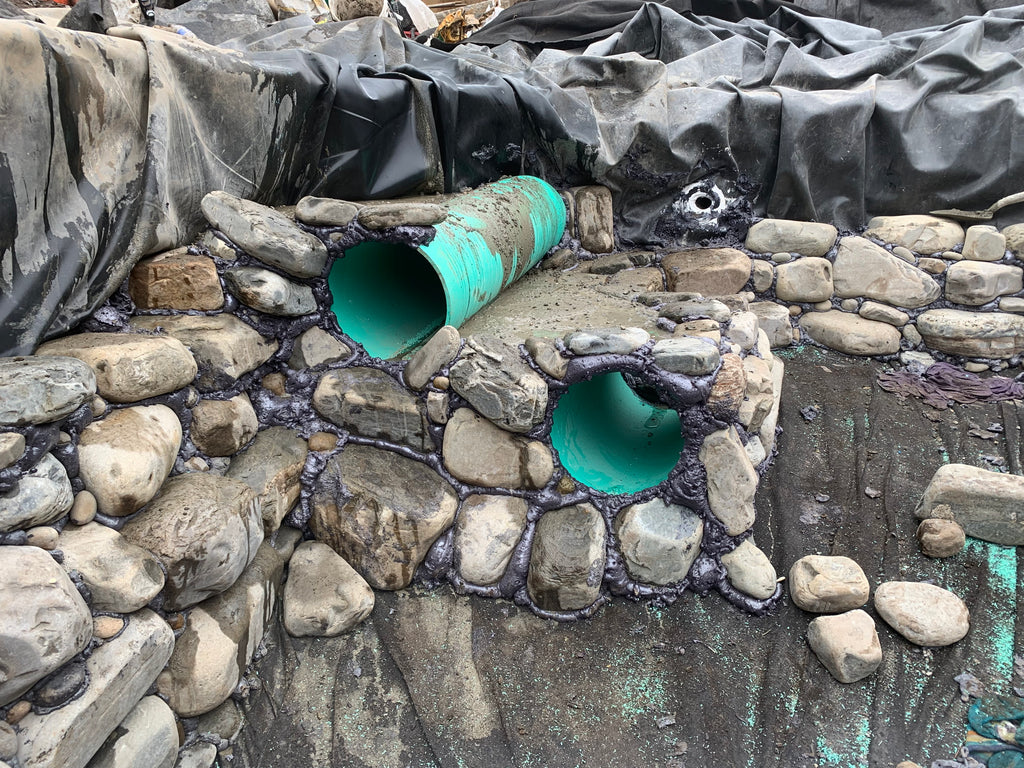
Justin added homemade fish caves made out of 6" PVC pipe, and concealed the pipes with concrete and rocks.
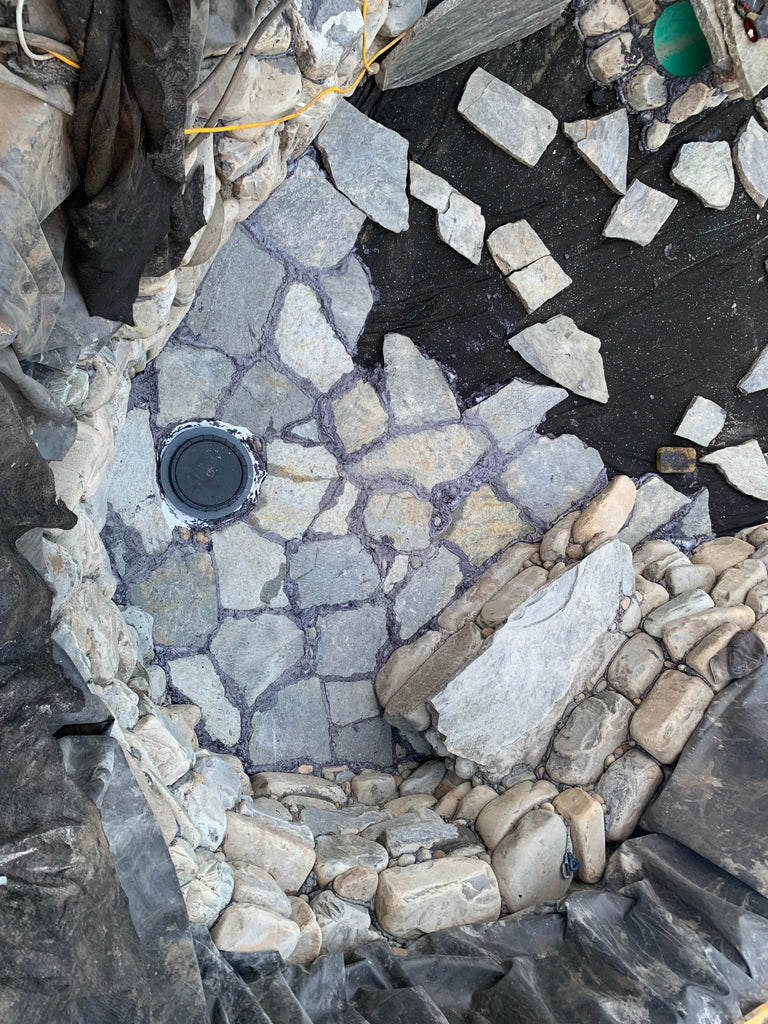
Justin installed a slate pond bottom, and ground down the shaper edges of the slate, so that it fit perfectly around the bottom drain.
Justin planned ahead, and ordered PondMax Underwater color-changing LED lights and during his build, he was able to hide the lights amongst the rock work. He also used extra 6" PVC pipe to run the wiring for the lights behind the rock work, so that he could easily access the lights to repair them, if necessary. These pipes doubled as excellent plant holders, which we'll explore in greater detail below. This planning and placement of his lights will surely save time and prevent future headaches! These lights are so well-concealed that, unless Justin was not pointing them out in the photo below, no one would ever know that the underwater LED lights were even there!
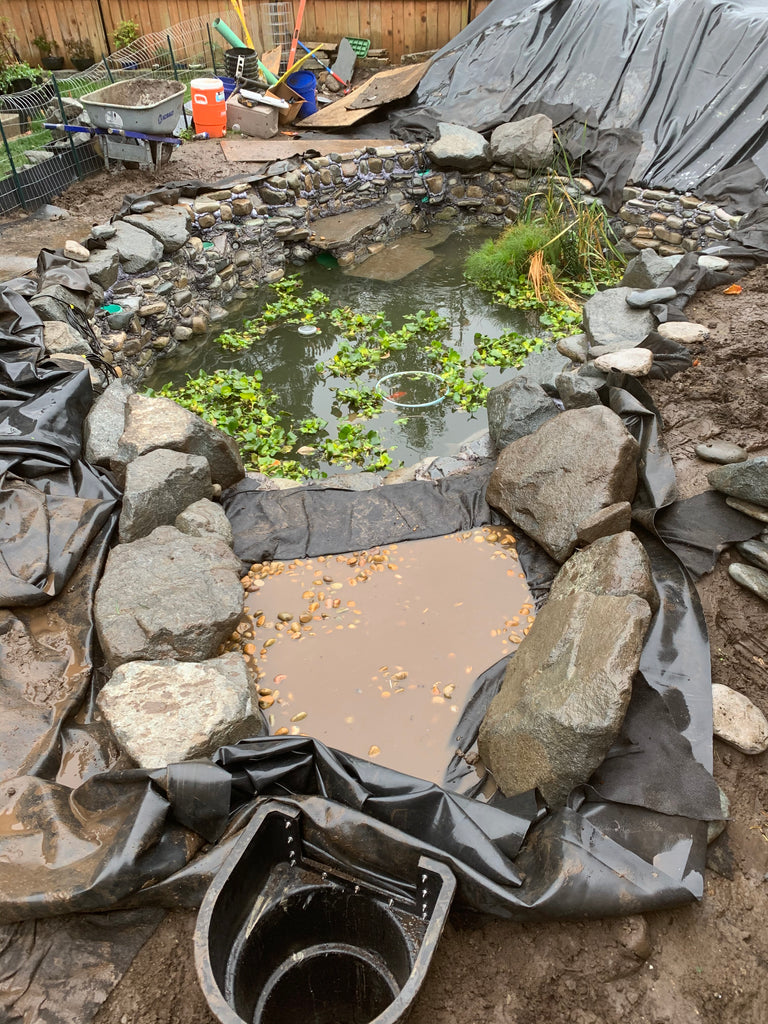
Justin chose large and irregularly-shaped boulders of for the exterior of the pond. He used varying sizes and colors to give the pond a more natural look.
Remember the 6" PVC pipes Justin ran above each LED for easy access? Now you can see two of these in the picture below, if you look hard enough. These PVC pipes worked perfectly as plant holders, to keep his lilies protected and secure.

With the pond walls and bottom fully covered with rocks, it was time to move onto making sure the remote skimmer was connected. Justin chose the award-winning Helix Pond Skimmer. He had the skimmer pre-drilled for an external pump. Helix Pond Skimmers are rated for use with pumps that have a maximum flow rate of 8,000 GPH. Justin decided to push the limits a bit, and chose to run a 1/2HP ArtesianPro High Flow (MPN AP-1/2-HF-C), which runs about 9,000 GPH, and at 5 feet of head pressure. He figured he would just see if the skimmer could handle this, and knew that if it was too high, he could always tamper back the flow with a 2" ball valve later. Fortunately, it worked well and there was no need for the ball valve, as Justin was able to squeeze an extra 1,000 GPH through the skimmer. For the record, we advise staying within the manufacturer's recommendations of a max flow rate of 8,000 GPH.
Here is a video demonstrating that Justin was able to successfully run 9,000 GPH through the Helix Pond Skimmer.
Once the skimmer test was complete, Justin was in the home stretch! The final steps of his amazing pond build were to connect his filtration and to finish his waterfall. In selecting his filtration, he knew that he wanted to add a lot of fish and also intended to occasionally swim in his pond. Therefore, he opted for a larger than normal filter, and purchased the AlphaOne 10.0 Plus All in one pond filtration Kit with upgraded pumps and a AquaSieve2 Prefilter add on for the bottom drain.
As for the pumps, in addition to the 1/2HP ArtesianPro High Flow (MPN AP-1/2-HF-C) that Justin ran from the Helix Pond Skimmer, he also added a second, slightly larger pump: the 3/4HP ArtesianPro High Flow (PMN AP-3/4-HF-C). This pump delivers 10,200 GPH, at 5 feet of head pressure. He attached the second pump to the Aquasieve2 Prefilter, which was also attached to the 4 inch Rhino II aerated bottom drain.
Once the pond water passes through the filtration, and the UVs, the combined 18,200 GPH then gets pumped back into the pond directly through three underwater Tangental Pond Returns (TPRs), and through an Aquascape Signature Series 6,000 Gallon BioFalls Pond Filter.
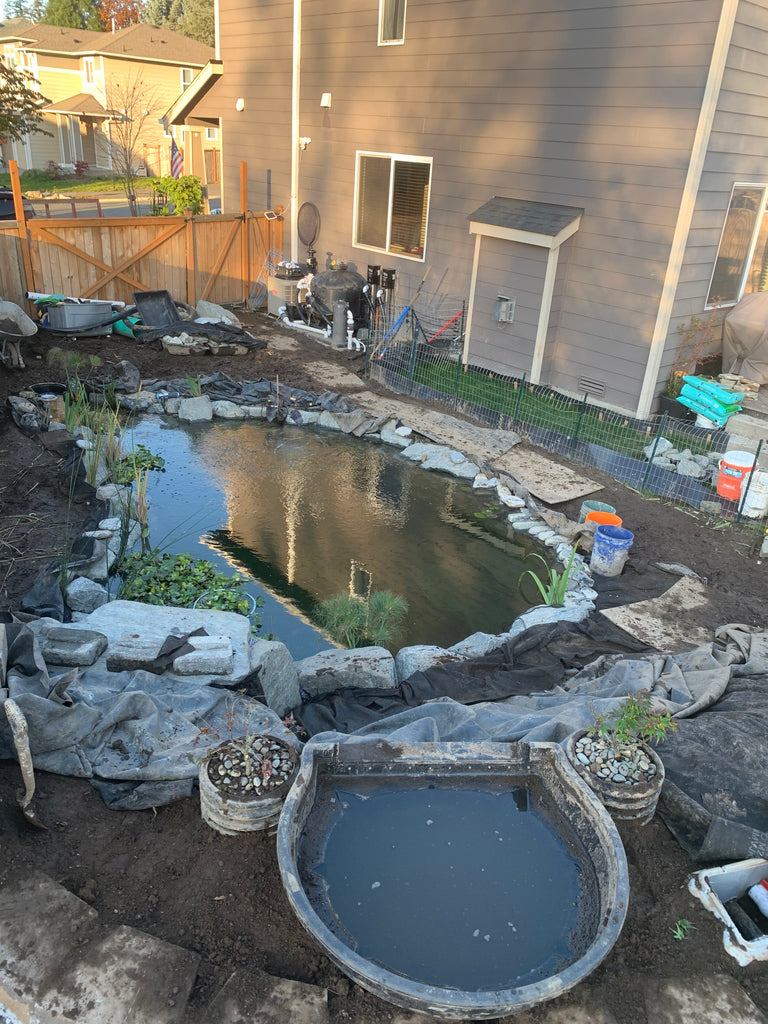
The photo below was taken from atop the the biofalls pond filter, and looking down on the pond. Justin mounted the filtration on an all-weather pad, alongside the house, next to the AC unit (in the center of the photo).
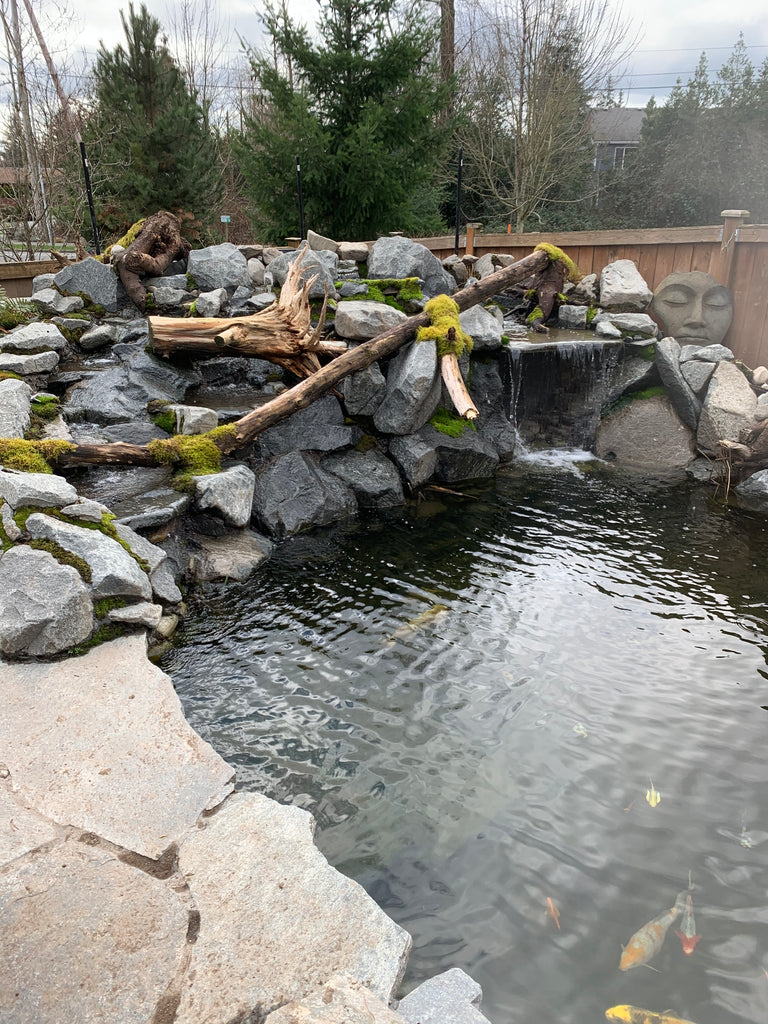
From here, Justin arranged some rocks and logs he collected to build the waterfall. He conveniently placed more PondMax Color Changing LEDs, to light up the falls.
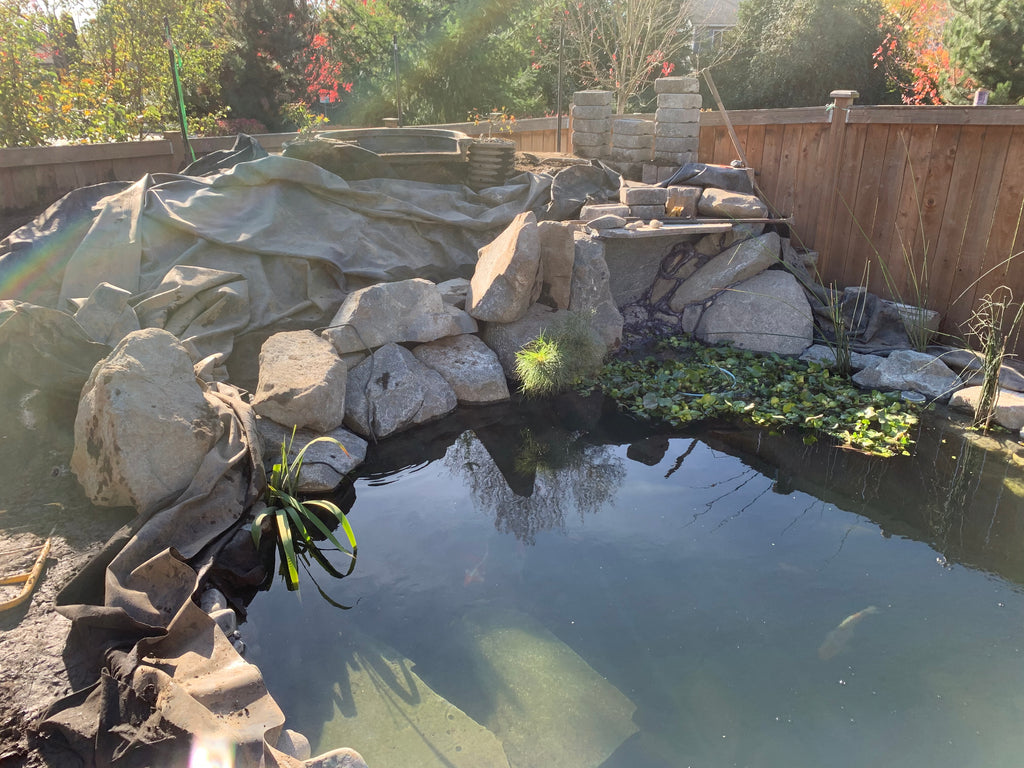
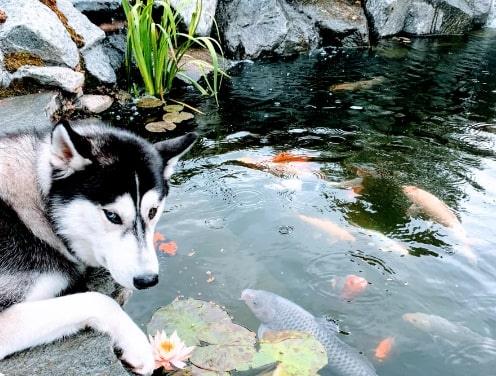
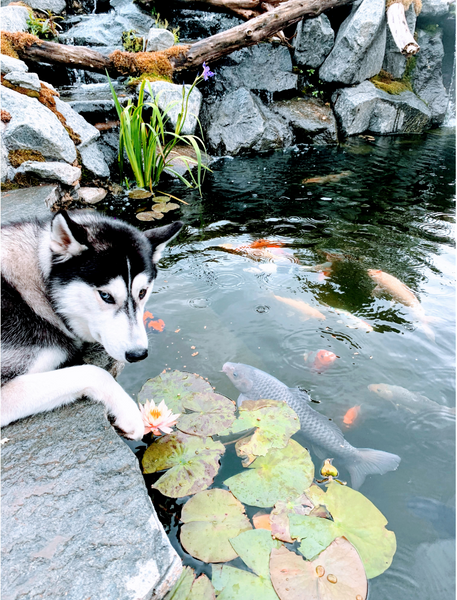
Wood, rocks, plants and falling/flowing water....is there a better combo?! Yes, don't forget the Koi ;-)
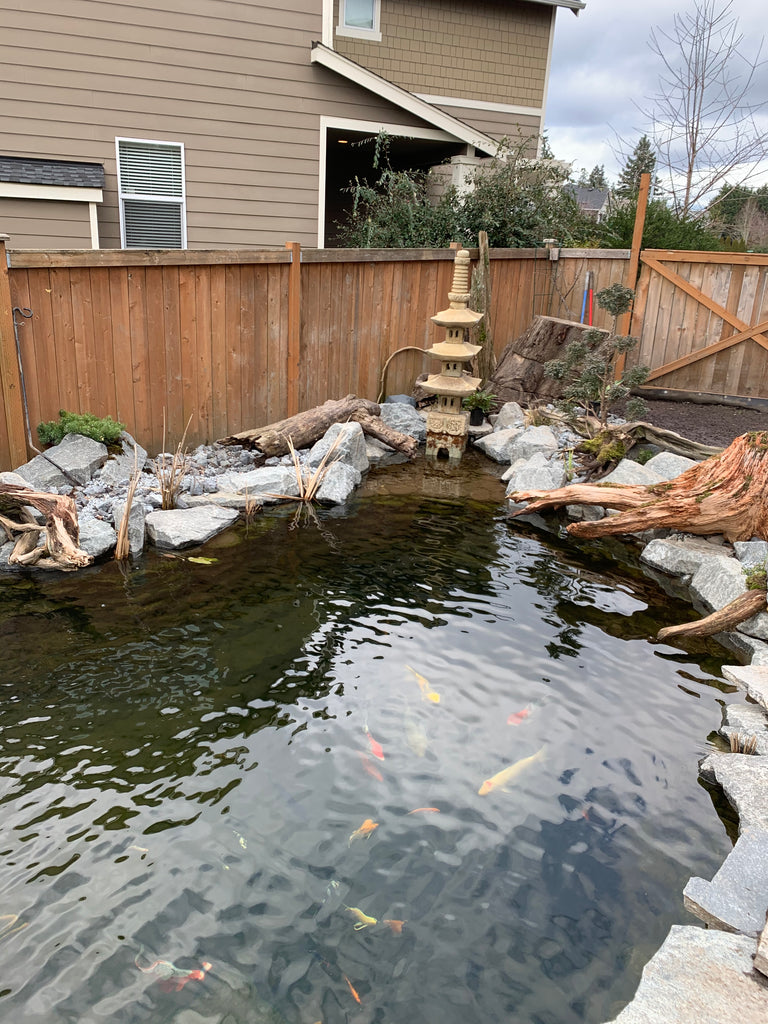
Justin added a Japenese Temple - see the photo below!
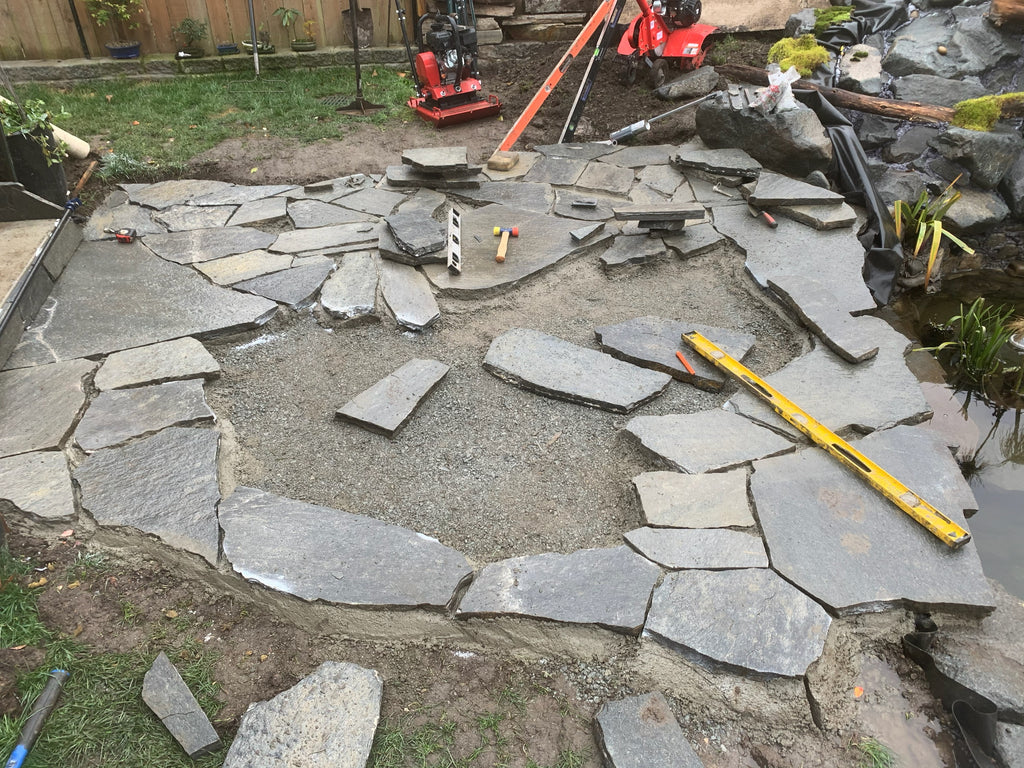
He also included a flagstone patio.
An Outdoor Fire Pit!
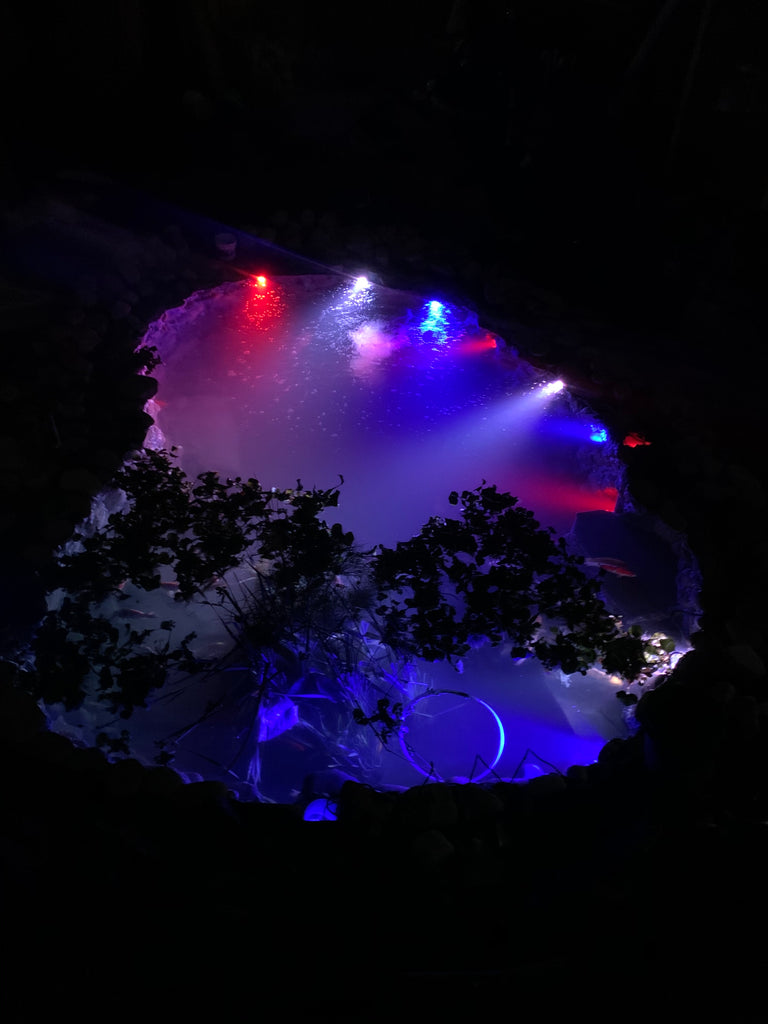
Justin is a Veteran, and chose three sets of the PondMax LED Color Changing Underwater Light kits, so that he could rock the Red, White, and Blue! Celebrating like a true patriot! So cool!
Justin added some aquatic plants and some hand-picked koi from Play It Koi. See the final product in the photo below!
Big Shout out to Justin for creating such a beautiful and creative pond and letting us share it with the rest of our customers. While these pictures are beautiful, having seen this pond first hand I can tell you that it looks even more beautiful in person. Hoping this inspires others to "take the plunge" and build a pond.